Validating the NFS provisioner using WordPress and MySQL
A sample playbook has been provided to show how to use the NFS provioner for perstent storage for a WordPress and MySQL deployment.
Prerequisites
- Install the
kubectlbinary on your Ansible box - Install the UCP Client bundle for the
adminuser - Confirm that you can connect to the cluster by running a test command, for example,
kubectl get nodes - Deploy the NFS provisioner as outlined in the preceeding section. The article assumes that the NFS configuration is the same as used in that section, namely:
| Variable | Value |
|---|---|
| nfs_provisioner_namespace | nfsstorage |
| nfs_provisioner_role | nfs-provisioner-runner |
| nfs_provisioner_serviceaccount | nfs-provisioner |
| nfs_provisioner_name | hpe.com/nfs |
| nfs_provisioner_storage_class_name | nfs |
| nfs_provisioner_server_ip | hpe2-nfs.am2.cloudra.local |
| nfs_provisioner_server_share | /k8s |
Running the playbook
The playbook test/playbooks/wordpress-mysql-nfs.yml creates Persistent Volume Claims for both Wordpress and MySQL, deploys both applications and makes the WordPress UI available via a NodePort.
# cd ~/Docker-Synergy
#  ansible-playbook -i hosts ./test/playbooks/wordpress-mysql-nfs.yml --vault-password-file .vault_pass
The output shows the components created along with the NodePort for the wordpress service.
ok: [localhost] => {
    "ps.stdout_lines": [
        "Cluster \"ucp_hpe2-ucp01.am2.cloudra.local:6443_admin\" set.",
        "User \"ucp_hpe2-ucp01.am2.cloudra.local:6443_admin\" set.",
        "Context \"ucp_hpe2-ucp01.am2.cloudra.local:6443_admin\" modified.",
        "namespace/wordpress-mysql created",
        "secret/mysql-pass created",
        "persistentvolumeclaim/mysql-pv-claim created",
        "persistentvolumeclaim/wp-pv-claim created",
        "deployment.apps/wordpress-mysql created",
        "deployment.apps/wordpress created",
        "service/wordpress-mysql created",
        "service/wordpress created",
        "NAME              TYPE        CLUSTER-IP      EXTERNAL-IP   PORT(S)        AGE",
        "wordpress         NodePort    10.96.216.103   <none>        80:33790/TCP   0s",
        "wordpress-mysql   ClusterIP   None            <none>        3306/TCP       0s"
    ]
Browse to the specified port on any node in your cluster.
http://hpe2-ucp01.am2.cloudra.local:33790
Configuring WordPress
You need to configure the language and password before WordPress is ready to use.
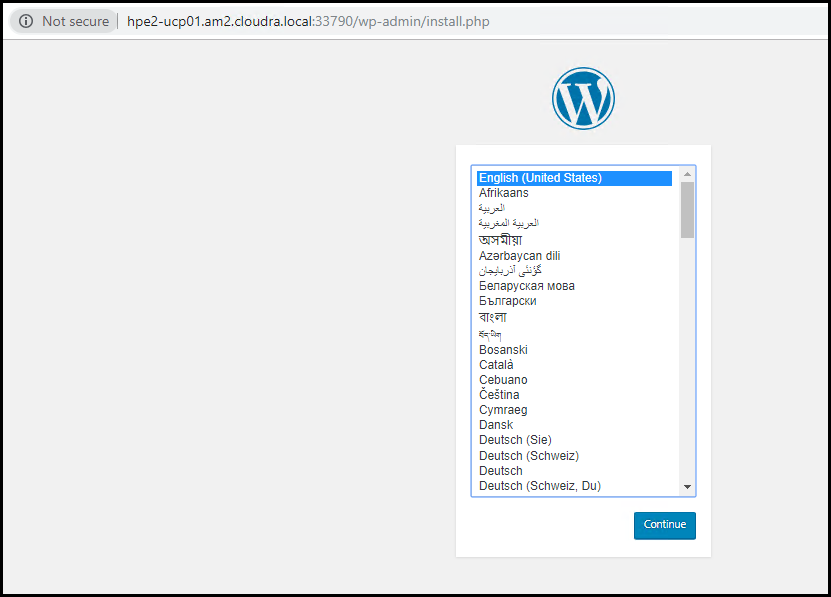
Figure. Configure WordPress language
Add a username, password and other configuration details.
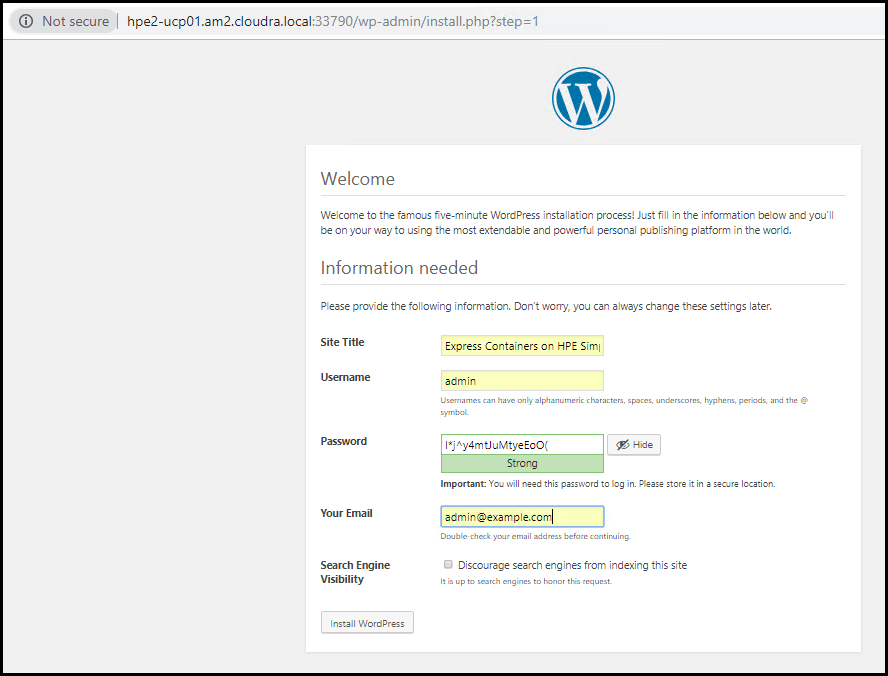
Figure. Configure WordPress password
Log in to WordPress, with the user name and password you have just set up.
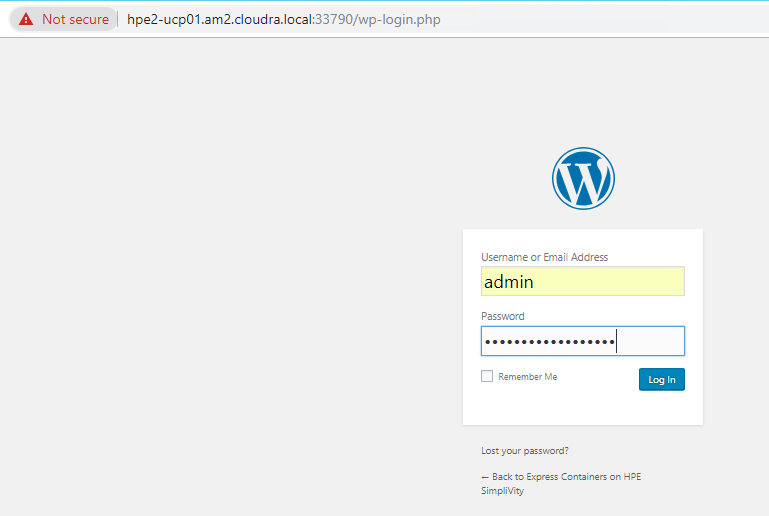
Figure. WordPress login
The welcome page is presented.
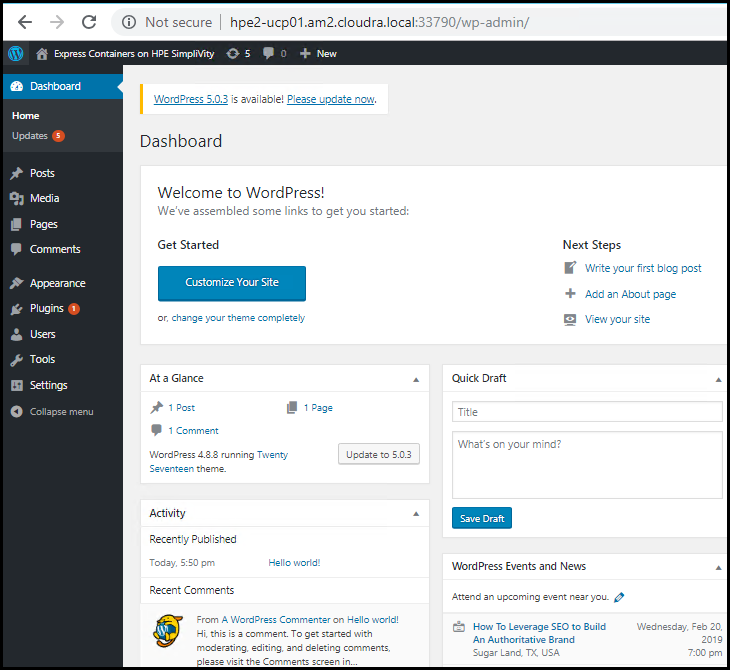
Figure. WordPress welcome
Create your first post
Click on Write your first blog post and start creating some content. Add a blog title and then click Add Media to upload an image to the Media Library and then Insert into post. In this example, the image is a file named
380 with OmniStack.jpg.
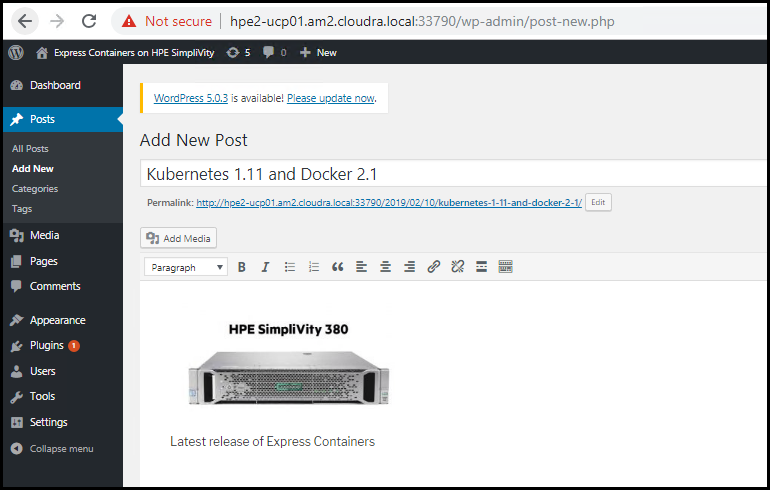
Figure. Create your first WordPress blog post
Click Publish and then View post to see your new blog post.
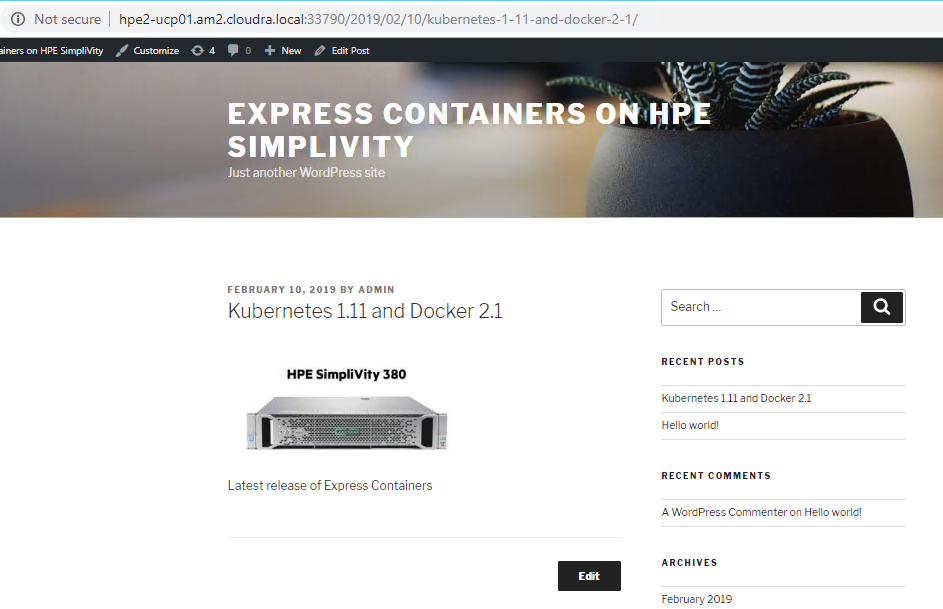
Figure. View your first post
Test persistence for WordPress
Find your WordPress Persistent Volume Claim (PVC)
# kubectl -n wordpress-mysql get pvc
NAME             STATUS    VOLUME                                     CAPACITY   ACCESS MODES   STORAGECLASS   AGE
mysql-pv-claim   Bound     pvc-d48880e3-2d58-11e9-adb2-0242ac110003   1Gi        RWO            nfs            1h
wp-pv-claim      Bound     pvc-d4bc101f-2d58-11e9-adb2-0242ac110003   20Gi       RWO            nfs            1h
Connect to the NFS VM and browse the /k8s folder to find the volume for the WordPress claim wp-pv-claim.
# ssh hpe2-nfs ls /k8s
wordpress-mysql-mysql-pv-claim-pvc-d48880e3-2d58-11e9-adb2-0242ac110003
wordpress-mysql-wp-pv-claim-pvc-d4bc101f-2d58-11e9-adb2-0242ac110003
Locate the wp-content folder.
# ssh hpe2-nfs ls /k8s/wordpress-mysql-wp-pv-claim-pvc-d4bc101f-2d58-11e9-adb2-0242ac110003
index.php
license.txt
readme.html
wp-activate.php
wp-admin
wp-blog-header.php
wp-comments-post.php
wp-config.php
wp-config-sample.php
wp-content
wp-cron.php
wp-includes
wp-links-opml.php
wp-load.php
wp-login.php
wp-mail.php
wp-settings.php
wp-signup.php
wp-trackback.php
xmlrpc.php
Now find the image used in the blog post.
# ssh hpe2-nfs ls /k8s/wordpress-mysql-wp-pv-claim-pvc-d4bc101f-2d58-11e9-adb2-0242ac110003/wp-content/uploads/2019/02
380-with-OmniStack-100x100.jpg
380-with-OmniStack-150x150.jpg
380-with-OmniStack-300x150.jpg
380-with-OmniStack-768x384.jpg
380-with-OmniStack.jpg
Note that WordPress has created a number of variations of the original image, for different screen sizes.
Shutdown wordpress (leave MySQL running for now)
# kubectl -n wordpress-mysql delete -f /tmp/wordpress-mysql-nfs/wordpress-deployment.yml
deployment.apps "wordpress" deleted
Refresh the page in the browser to confirm that WordPress is indeed inaccessible.
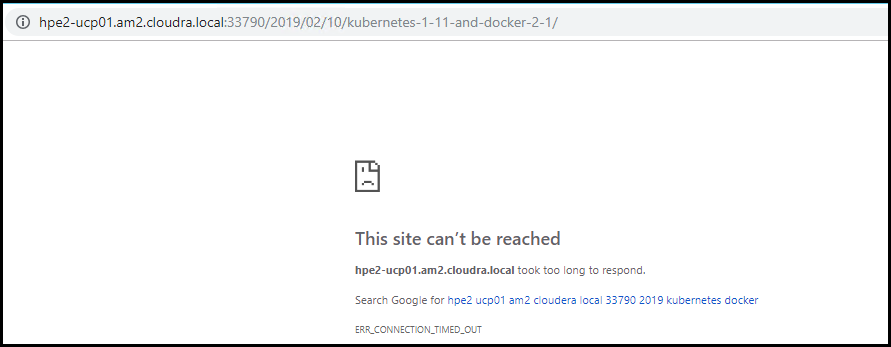
Figure. Cannot connect to WordPress
Redeploy Wordpress
# kubectl -n wordpress-mysql apply -f /tmp/wordpress-mysql-nfs/wordpress-deployment.yml
deployment.apps/wordpress created
Refresh the page in the browser to confirm that WordPress is now accessible and that the image in the blog post has survived the shutdown.
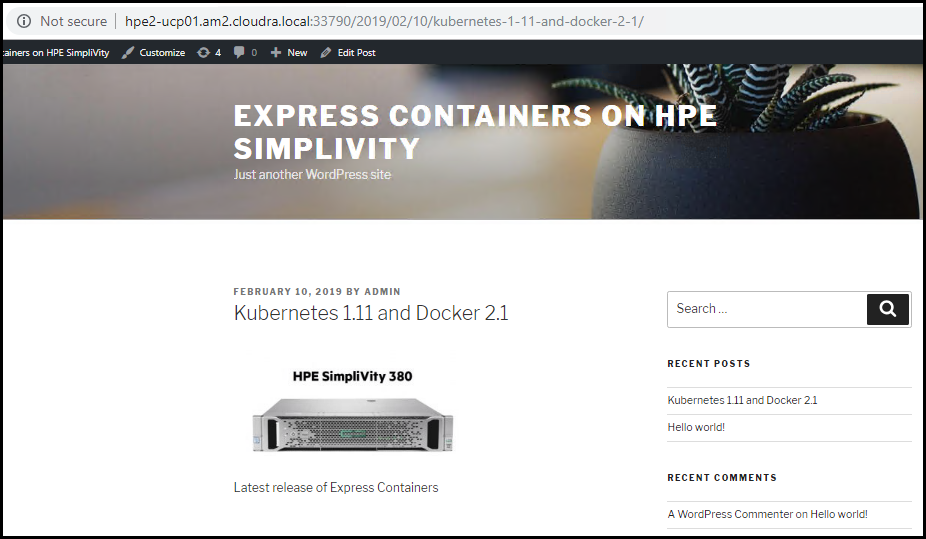
Figure. View restored post
Test persistence in MySQL
A similar procedure can be performed for MySQL. While assets such as images, CSS files, etc are stored in the WordPress volume, information about users, posts, comments, tags, etc are stored in the MySQL database. It is possible to browse the tables in the database and identify the rows related to the blog post you created.
Shut down MySQL as follows:
# kubectl -n wordpress-mysql delete -f /tmp/wordpress-mysql-nfs/mysql-deployment.yml
deployment.apps "wordpress-mysql" deleted
Refresh the page for your blog post, and you will see that WordPress can no longer connect to the database:

Figure. Cannot connect to MySQL
Restore the MySQL deployment:
# ubectl -n wordpress-mysql apply -f /tmp/wordpress-mysql-nfs/mysql-deployment.yml
deployment.apps/wordpress-mysql created
Refresh the page in the browser to confirm that WordPress can now access the database and that the blog post has survived the database shutdown.
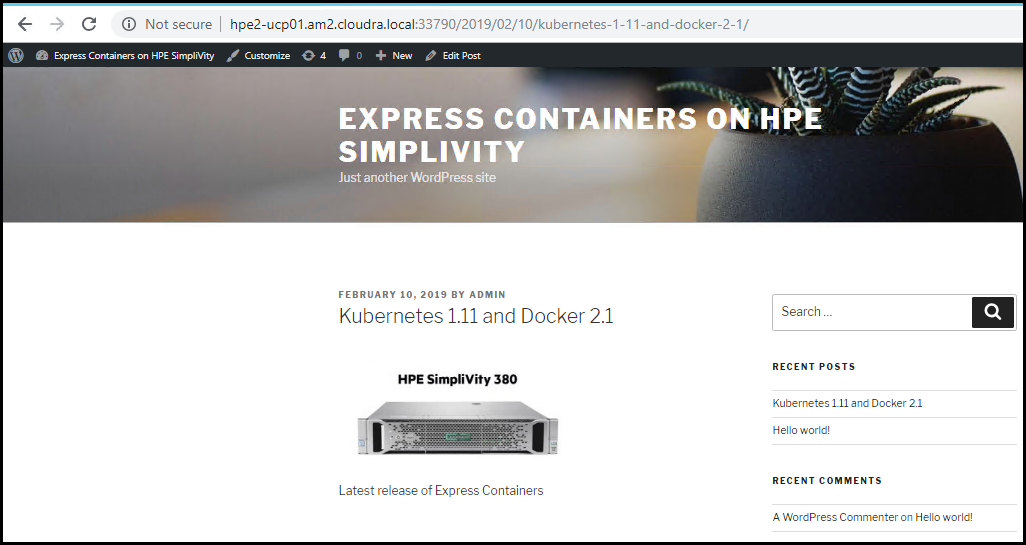
Figure. Check after MySQL restored