# Deploying stateful application using KubeDirector
The steps to deploy the Methodize-Productivity application using KubeDirector are as follows:
- Create Dockerfiles for the three tiers.
- Create the frontend dockerfile. Copy the package.json file and install all the required modules and dependencies and then copy the remaining project files into the working directory and expose port 3000. Use the command “npm start” to start the frontend User Interface:
FROM node:10
WORKDIR /usr/src/app
RUN apt-get update && apt-get install vim -y && apt-get install curl -y
COPY package.json ./
RUN npm install
COPY ..
EXPOSE 3000
CMD [“npm”, “start”]
- Create the backend dockerfile. Copy the package.json file and install all the required modules and dependencies and then copy the remaining project files into the working directory and expose port 8081. Use the command “nodemon index” to start the backend server:
FROM node:10
WORKDIR /usr/src/app
RUN apt-get update && apt-get install vim -y && apt-get install curl -y
COPY package.json ./
RUN npm install
RUN npm install -g nodemon
COPY ..
EXPOSE 8081
CMD [“nodemon”, “index”]
- Create a dump of the database and then create the database dockerfile and copy the data dump file into it:
FROM mongo:4.0
COPY ..
RUN apt-get update && apt-get install curl –y
Create the images and push them into DockerHub for future access from the HPE Ezmeral Runtime Enterprise.

Figure 68. HPE Ezmeral Runtime Enterprise DockerHub for future access
Login to the HPE Ezmeral Runtime Enterprise and the required tenant. Create the KubeDirectorApp yaml file as shown.
> vi methodize-productivity.yaml
apiVersion: kubedirector.hpe.com/v1beta1
kind: KubeDirectorApp
metadata:
  name: methodize-productivity
spec:
  label:
    name: Methodize-Productivity
    description: A productivity task manager application using the MERN Stack
  distroID: hpecp/methodize
  version: ‘1.1’
  configSchemaVersion: 7
  defaultConfigPackage: null
  services:
  - id: frontend
    label:
      name: Frontend Service
    endpoint:
      port: 3000
      urlScheme: http
      isDashboard: true
  - id: backend
    label:
      name: Backend Service
    endpoint:
      port: 8081
      isDashboard: false
  - id: mongodb
    label:
      name: MongoDB Service
    endpoint:
      port: 27017
      isDashboard: false
  roles:
  - id: frontend
    cardinality: ‘1’
    imageRepoTag: docker.io/pranavvutkur/frontend-methodize:latest
    persistDirs:
    - “/usr/src/app”
  - id: backend
    cardinality: ‘1’
    imageRepoTag: docker.io/pranavvutkur/backend-methodize:latest
    persistDirs:
    - “/usr/src/app”
  - id: mongodb
    cardinality: ‘1’
    imageRepoTag: docker.io/pranavvutkur/data-methodize:latest
    persistDirs:
    - “/data/db”
  config:
    selectedRoles:
    - frontend
    - backend
    - mongodb
    roleServices:
    - roleID: frontend
    serviceIDs:
    - frontend
    - roleID: backend
    serviceIDs:
    - backend
    - roleID: mongodb
    serviceIDs:
    - mongodb
  systemdRequired: true
Note
This file specifies the name of the application as Methodize-Productivity (spec.label.name). Three services are created. First service is for the frontend exposing port 3000 and second service is for the backend exposing port 8081 and finally the last service is for the mongodb database exposing port 27017.
The three roles created are: a. frontend role which specifies the image used (docker.io/pranavvutkur/frontend-methodize:latest) and the persistDirs directory (/usr/src/app).
b. backend role specifies the image used (docker.io/pranavvutkur/backend-methodize:latest) and the persistDirs directory (/usr/src/app)
c. mongodb role specifies the image used (docker.io/pranavvutkur/data-methodize:latest) and the persistDirs directory (/data/db)
- Execute the following command to create the KubeDirectorApp.
> kubectl create–f methodize-productivity.yaml
Next step is to launch the created application from the HPE Ezmeral Runtime Enterprise GUI and assign custom values for the storage, CPU, memory, and the number of replicas as required and include the environment variables if required and Click Submit to represent the KubeDirector cluster data.
A KubeDirector application instance gets created for the Methodize-Productivity application with service endpoints.
Identify the pods for the three tiers:
- Exec into the database pod
> kubectl exec -it <db pod> -- /bin/bashand restore the dump file using the following command.
> mongorestore –db methodize –drop methodize (methodize is the name of the data dump file)- Exec into the backend pod
> kubectl exec -it <backend pod> -- /bin/bashand navigate into the “config” folder and open the “dev.js” file
> vi dev.js Inside the file replace the “MONGO_URL” with the new service endpoint gateway mapping of the mongoDB pod.- Exec into the frontend pod and open the “package.json” file
> vi package.json
Inside the file replace the “proxy” key with the service end point gateway mapping of the backend pod.
Delete the Frontend pod so the new pod will spin up with the modified proxy changes.
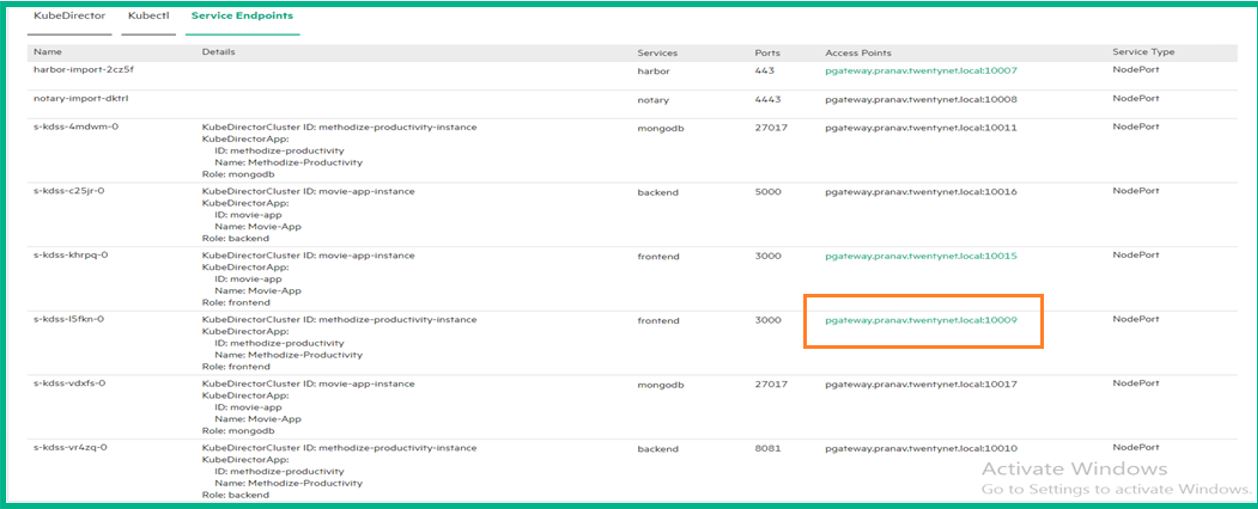
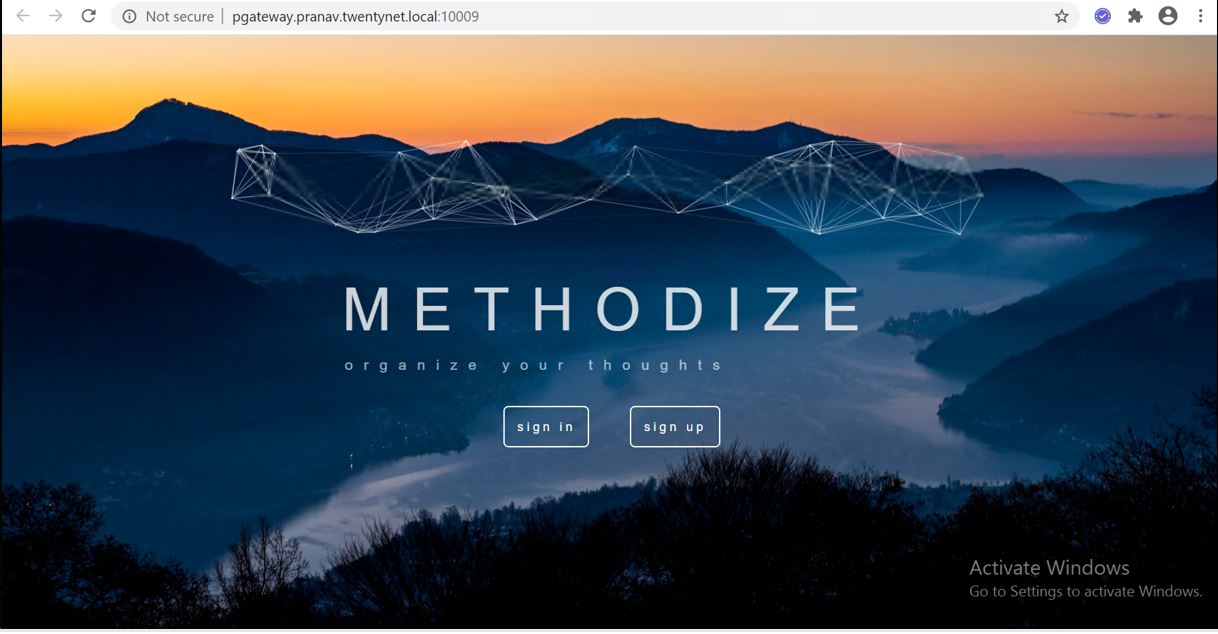
On the HPE Ezmeral Runtime Enterprise UI the service endpoint gateway mapping is used to access the Methodize-Productivity UI.Click Gateway Mappings as shown in Figure 69 to open the Methodize-Productivity home screen as shown in Figure 70.

Figure 69. Service Endpoint of the Methodize-Productivity Frontend.

Figure 70. Service Endpoint of the Methodize-Productivity URL.
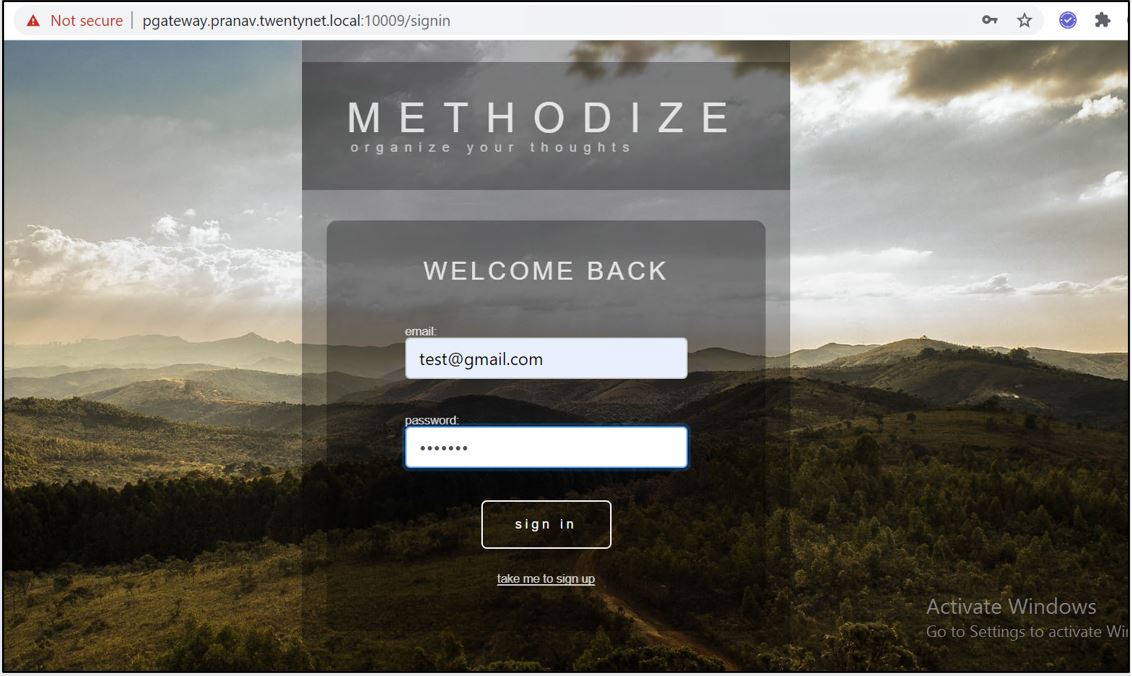
- Click on “sign-in” and use the same credentials that were in use when the application was running on the virtual machine environment. Figure 71 shows the sign-up page filled in with the existing user credentials.

Figure 71. Methodize-Productivity sign-in page with existing user credentials.
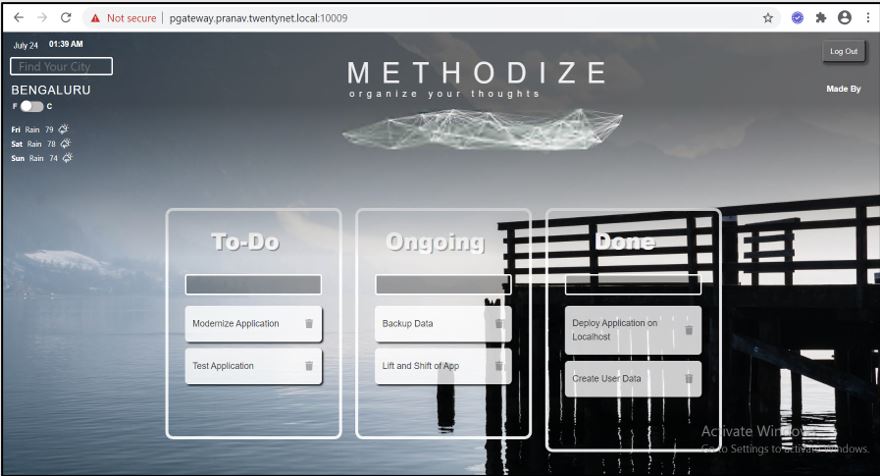
- Once the user has signed in they can view the To-Do task manager with all the existing created tasks as shown in Figure 72. The user can go ahead and create new tasks if required.

Figure 72. Methodize-Productivity To-Do task manager page with existing tasks.
- Execute the following commands to see the pods, its Persistent Volume (PV) and Persistent Volume Claim (PVC) that are created. Figure 73 represents the pods, Figure 74 represents the PV, and Figure 75 represents the PVC of the Methodize-Productivity application.
> kubectl get pods
> kubectl get pv
> kubectl get pvc

Figure 73. Pods for the Methodize-Productivity

Figure 74. Persistent volume for Methodize-Productivity

Figure 75. Persistent Volume Claim for Methodize-Productivity