# Kasten deployment on HPECP
# Introduction
The K10 data management platform, purpose-built for Kubernetes, provides enterprise operations teams an easy-to-use, scalable, and secure system for backup/restore, disaster recovery, and mobility of Kubernetes applications. K10's application-centric approach and deep integrations with relational and NoSQL databases, Kubernetes distributions, and all clouds provides teams the freedom of infrastructure choice without sacrificing operational simplicity. Policy-driven and extensible, K10 provides a native Kubernetes API and includes features such full-spectrum consistency, database integrations, automatic application discovery, multi-cloud mobility, and a powerful web-based user interface. For more information refer https://docs.kasten.io/latest/index.html (opens new window)
Pre-requisites
HPECP cluster available
Access to Google Cloud
# Flow Diagram
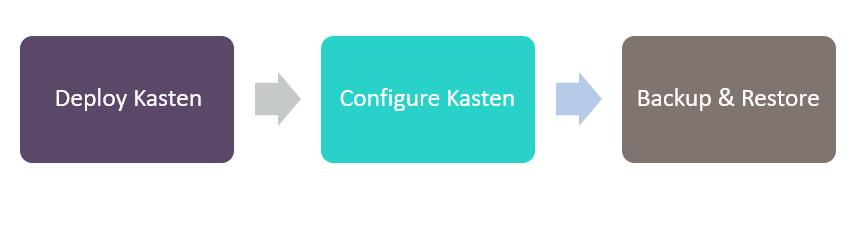
# Deployment Process
First step is to deploy Helm. Follow below steps to deploy Helm.
Download latest helm wget https://get.helm.sh/helm-v3.4.2-linux-amd64.tar.gz (opens new window)
Unpack the helm gz file
> tar -zxvf helm-v3.4.2-linux-amd64.tar.gzMove the helm binary file to /usr/local/bin
> mv linux-amd64/helm /usr/local/bin/helm
Deploy Kasten by following below steps.
Run the following command to deploy the pre-check tool curl https://docs.kasten.io/tools/k10_primer.sh | bash.
NOTE
By default, volumesnapshotclass will not be present in data fabric cluster. It has to be created manually.
Use below yaml file to create volumesnapshotclass.
apiVersion: snapshot.storage.k8s.io/v1beta1

kind: VolumeSnapshotClass

metadata:

name: fabric-snapshotclass

namespace: hpe-csi

annotations:

snapshot.storage.kubernetes.io/is-default-class: "true"

k10.kasten.io/is-snapshot-class: "true"

driver: com.mapr.csi-kdf

deletionPolicy: Delete

parameters:

restServers: 10.0.72.159:31443

cluster: fabric01

csi.storage.k8s.io/snapshotter-secret-name: "hpe-user-secret-fabric01" # Can be separate secret for snapshot only

csi.storage.k8s.io/snapshotter-secret-namespace: "hpe-csi"
NOTE
Information about restservers, csi.storage.k8s.io/snapshotter-secret-name can be obtained from
> kubectl describesc storageclass nameDeploy the volumesnapshotclass by running below command.
> kubectl create --f snapshotclasses.yamlExecute precheck script again to make sure that volumesnapshotclass exists.
> curl https://docs.kasten.io/tools/k10_primer.sh | bashNext step is to install Kasten.
Follow below steps to install Kasten.
Create namespace by running below command.
> kubectl create ns kasten-ioAdd kasten helm charts
> helm repo add kasten <https://charts.kasten.io/>Deploy kasten using helm
> helm install k10 kasten/k10 --namespace=kasten-ioVerify that all pods are in running state by running below command.
> Kubectl get pods --namespace kasten-io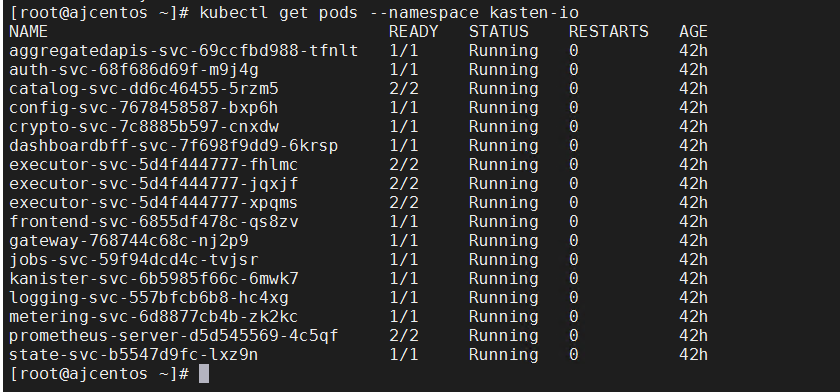
# Configure Kasten service
To access kasten webgui, we need to change gateway service in kasten-io namespace from ClusterIP to NodePort.
Modify the service gateway type and add label to automatically assign port
> kubectl patch svc gateway -n kasten-io -p '{"spec":{"type":"NodePort"}}'

> kubectl label svc gateway hpecp.hpe.com/hpecp-internal-gateway=true -n kasten-io
Get the Kasten administrator URL from gateway service as below
> kubectl describe svc gateway -n kasten-io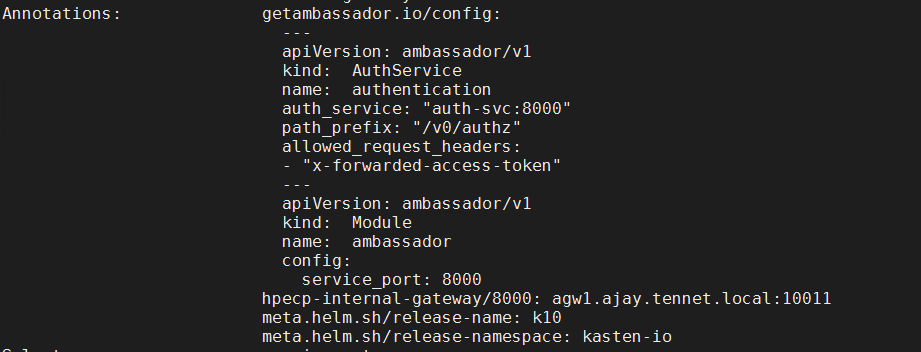
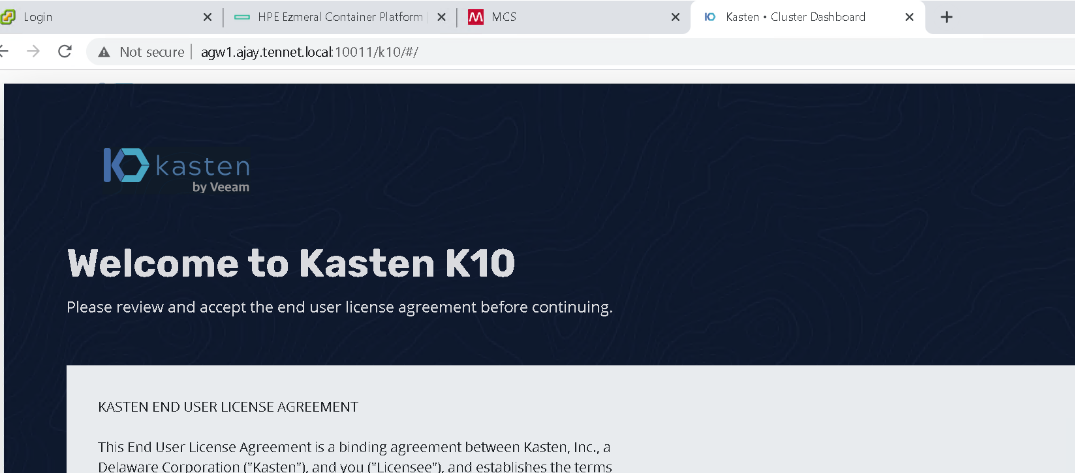
Access the Kasten URL
# Integrate GCP bucket
Create service account in GCP with storage object admin role
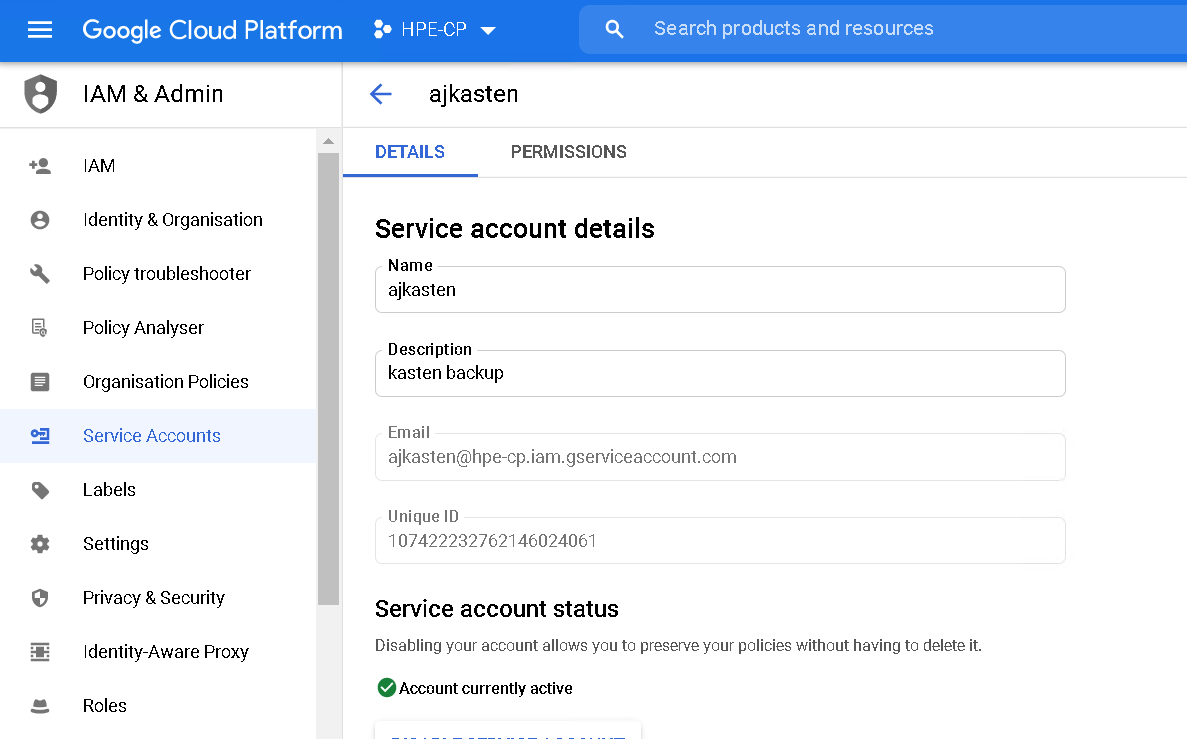
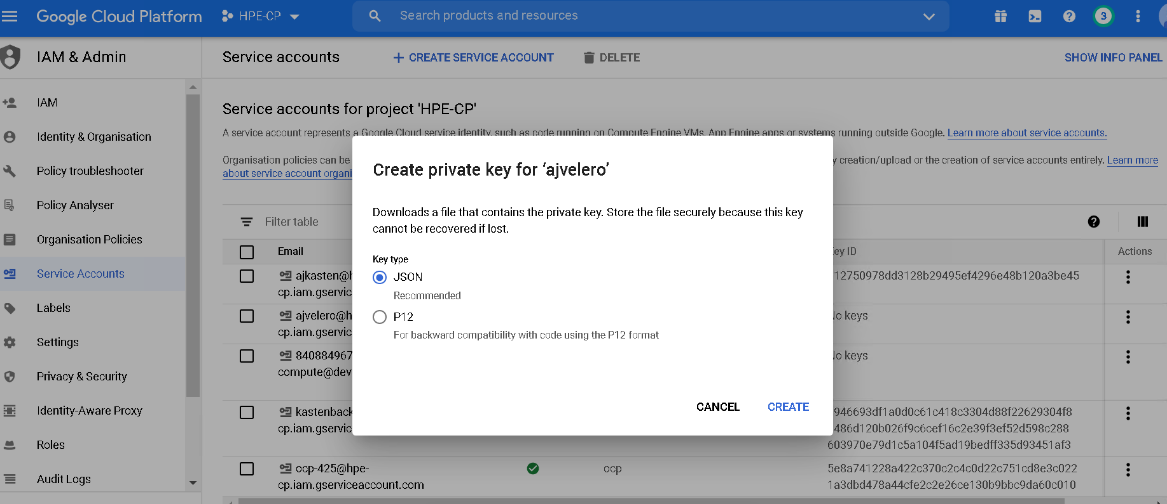
Generate the Service Account
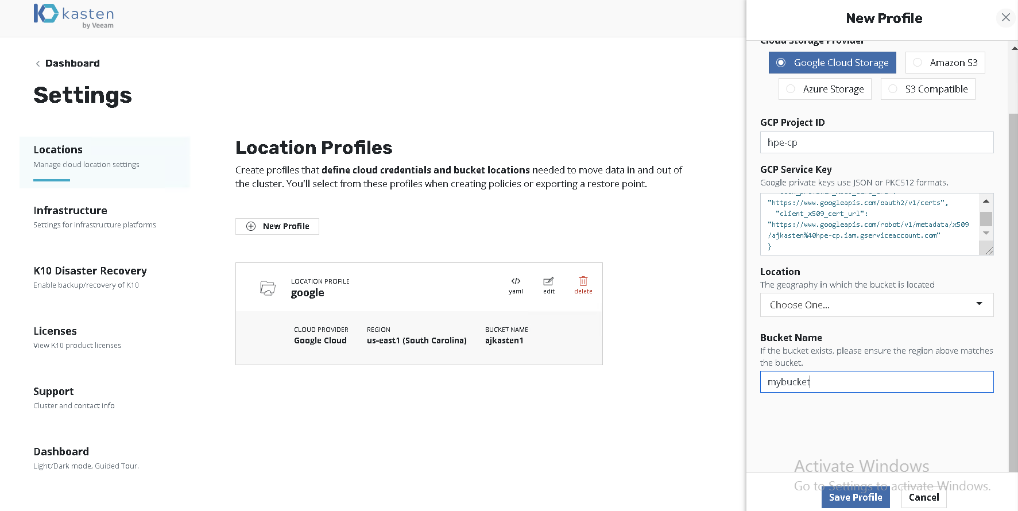
In Kasten Dashboard, create location profile under settings with GCP bucket credentials
# Backup & Restore
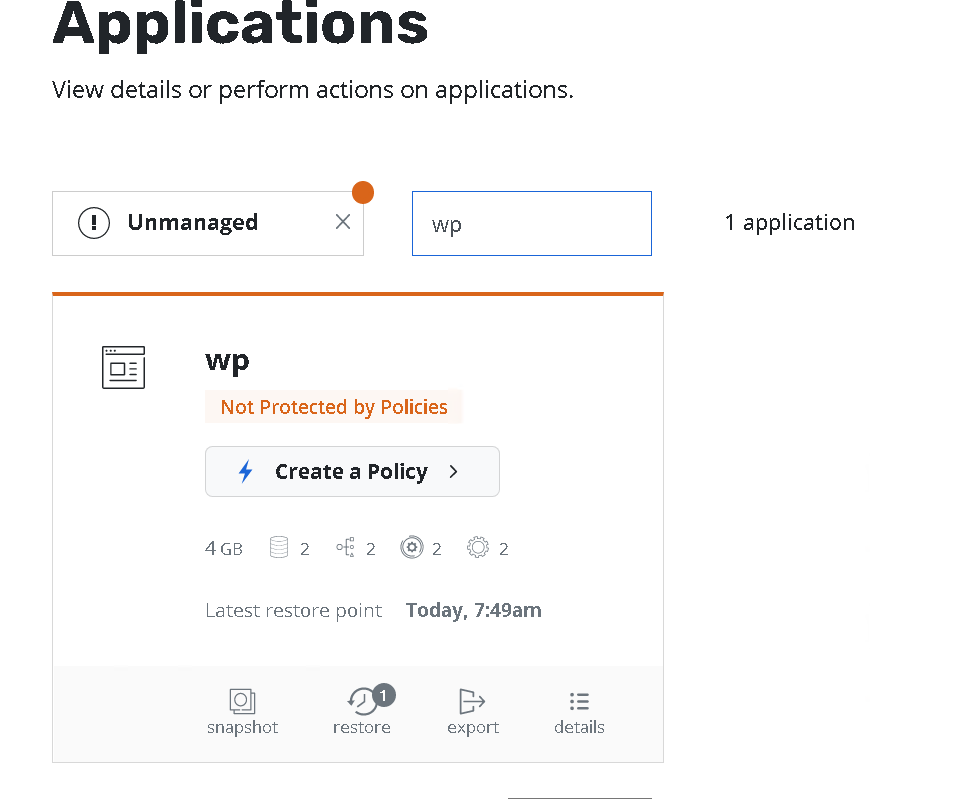
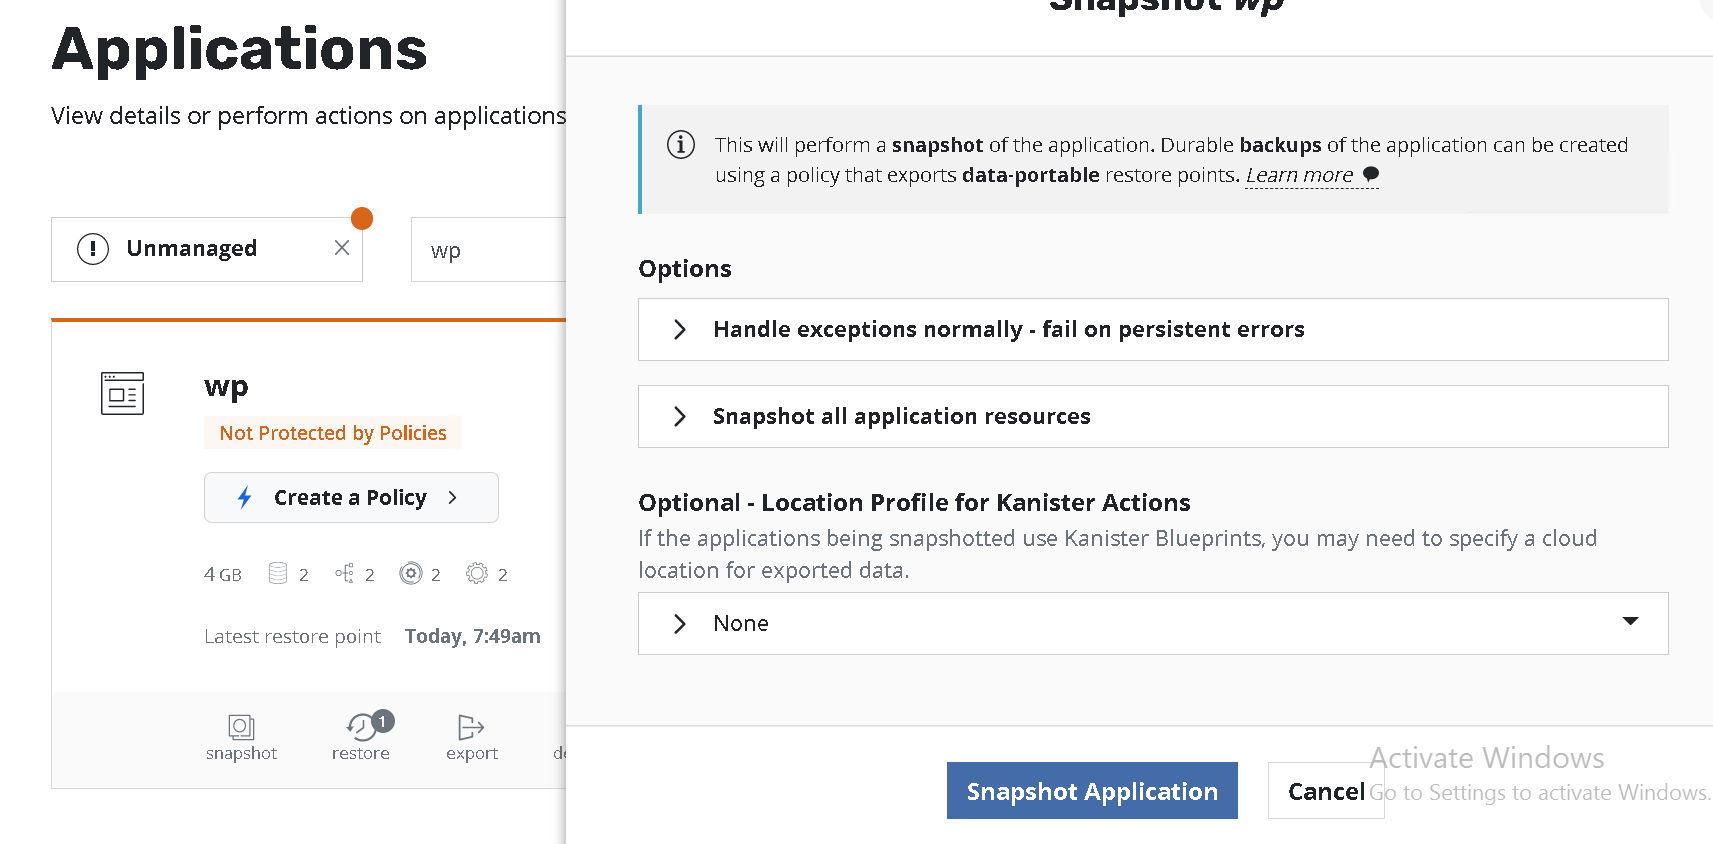
On Kasten WEBGUI, Click on Applications and select the required application to be backed up. Click on Snapshot button and select "Snapshot Application".
Go to the dashboard and verify backup completed
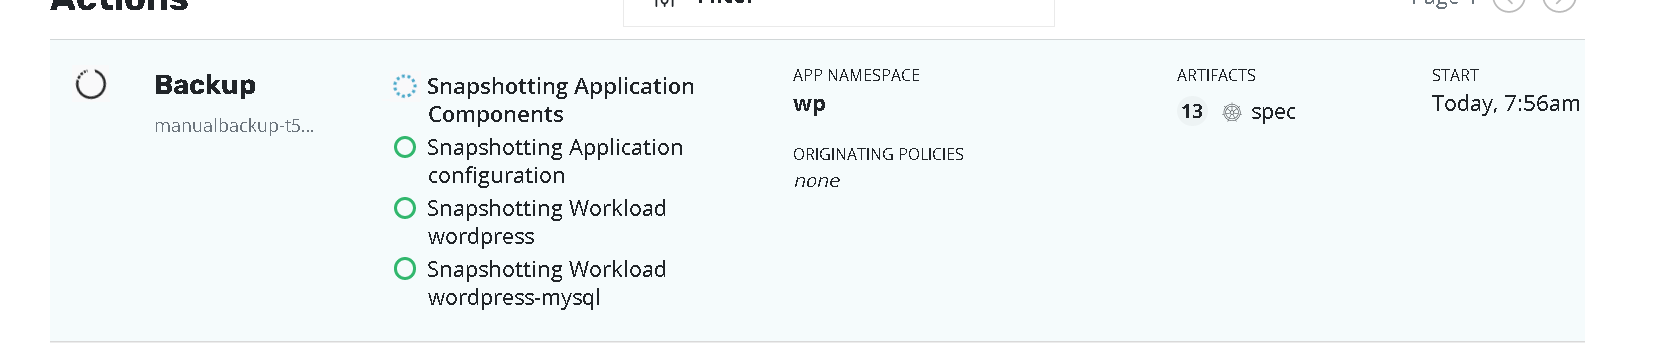
NOTE
This snapshot will be saved in local disk. We have to use export option to save the snapshot in cloud bucket
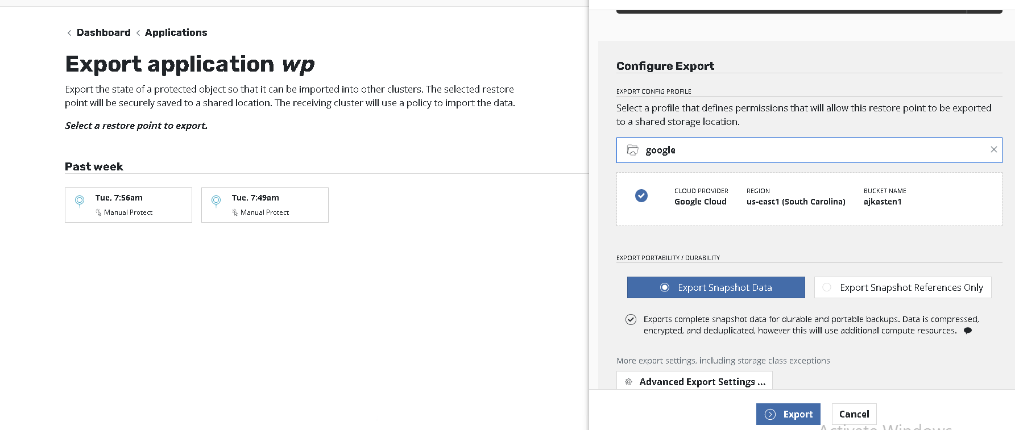
To export, go the Application and click on export button. Select appropriate bucket and click restore.
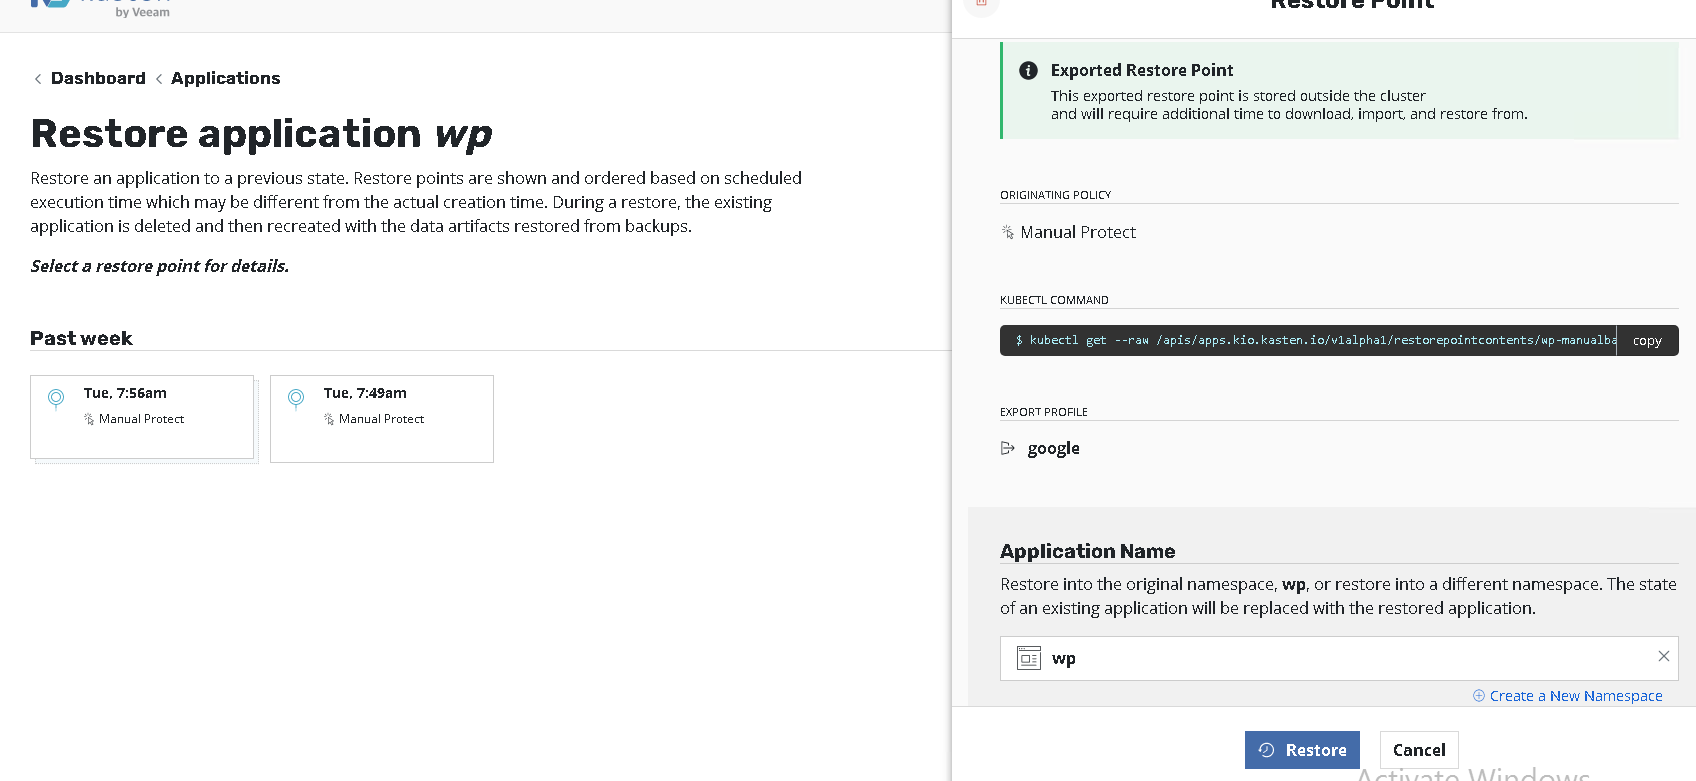
To restore, go the Application and click on restore button